Showing posts with label rust. Show all posts

1.18.2011

Week Five


This week, like previous weeks, brought us closer to finishing larger goals.  However, all our progress towards fixing the engine hit a major road block...

I found this quote and I think it applies to week five:

When you come to the end of your rope, tie a knot and hang on.  ~Franklin D. Roosevelt

We finally came to a halt with the engine repair.  Unfortunately the (dinosaur) Mercedes that came with the boat died on Sunday and we decided to purchase a new Yanmar.  It is possible to get the old diesel running, but she will nickel and dime us to death.  Plus, we would have to install a new engine eventually anyway, so why not put one in now and reap the benefits instead of having the Mercedes die on us inconveniently (‘cause you know that’s what will happen…Murphy’s Law).

So without further adieu, here are this week’s projects:

·     Found and repaired leak in tender, fortunately it was easily fixed with an additional rubber O-ring inserted at valve  ^_^

·     Serviced diesel filter, re-installed glow plugs and resisters…unfortunately when we tried to crank the engine (all) the oil bled out and that’s when we said eff it.

Ransom testing connections to engine

The dinosaur

·     Stripped obsolete wires and mapped electrical system
"AAAAHHHH!!!  SO MANY WIRES!!!!!!"

Much better

Stripped wires


·     Painted rust stop primer in and below head, water tank, chain locker, v-berth, and bilge
Below head

Seacock

Water tank

V-berth, 1st coat

V-berth, 1st coat

V-berth, final coat  ^_^

V-berth, final coat down and ready for new panels!!


·     Cut panels for v-berth, head, and new electrical board
Templates

"I LOVE PLAYING WITH POWER TOOLS!!!"

Little details

12.24.2010

Week Four (Mon 11.22-Sun 11.28)

Thanksgiving was this week, so…not a lot of work was completed.

However, we did make progress on larger projects that we’ve been working on. 


This week's projects:

·    Wanted to step mast, but going to wait until boat in yard.

·    Finished removing Styrofoam from around old ice box to install a new one.

·    Removed hand pump faucet from galley and tested at home 

Pump action faucet...3 pumps = 1 cup


·     Started removing wires that aren’t connected to anything, removed batteries and battery switches, labeled wires, stripped nav station 

Battery Bank

Converters
  
Back of switchboard
 
Switchboard madness
 
More switchboard madness


·     Started testing engine wiring, found the 24V to 12V voltage regulator does diddly squat and decided to connect glow plugs (9V) directly to 12V power supply with new voltage regulators.

·     Painted rust eating primer under mast step in cabin, v-berth, stuffing box, and forward bulk head. 

Under mast step

Lauren painting under mast step

·    This rust eating (and plastic dissolving) primer is really nasty stuff (I have to wear mad scientist rubber gloves).  If you get it on your skin you have to wait for your cells to die and slough off the paint!
 
After
 
V-berth ceiling


·    Mapped wires and disconnected wires from control board

OH YEAH!!!!

It might look messy, but this is a beautiful sight


·    Tested transducer, radar, and radio antennae…all working  ^_^

·    Connected windlass to 24V, chain comes in but does not go out.  The solenoid needs to be re-wired (no biggie).

11.21.2010

Week 3 (Mon 11.15 - Sun 11.21)

“Nothing is particularly hard if you divide it into small jobs.”
-Henry Ford

(An especially helpful quote when we stop and look around the cabin, see all the mayhem and anxiety starts to creep in).

This week many larger projects were completed that required small steps to achieve a greater goal.


This week’s projects:

·     Used a scaler to loosen and break off rust under the mast step
·     Removed toilet to test at home.  Decided to replace black water discharge seacock
·     Opened chain locker to inspect and formulate a plan to ease drainage, locker looks good.  Windlass currently not hooked up, un-spooled all chain out to see if end bolted to hull…it is.

·     Finished sanding and oiling teak
Teak went from gray to brown  ^_^


·     Jim (Jim #4) from PPI came by to measure for v-berth mattress and give estimates for cushions.  We cut off the "new" cushion cases to see if interior foam was recoverable.

The old cushions (port side)

Starboard cushions


·     More grinding of water tank lid.  Found an old circular saw blade (we didn't care if it was ruined), that sped things up.  Also acquired a metal cutting blade for grinder.  Top was finally removed and Ransom began cutting out baffles (walls in water tank to prevent sloshing).  VICTORY!  Six days after starting to carve the water tank for a rubber bladder, Ransom conquered the ancient beast! 

The top is off!

Baffles and lid be gone!!!

Ransom the saw wielding monster vanquished the water tank!


·     Leaks in diesel hunted down and remedied.  We got the new glow plugs for the engine, but were unable to crank her because there is a 24 volt current going directly to the plugs and we need to reduce that to 12 volts or the new plugs will burn out before their time.

Engine compartment


·     Ransom cut out steel pipes from engine compartment and cleared out clutter.

Steel pipes and clutter from engine room


·     Opened the can of worms that is the electrical panel.  Ransom played with the breakers, most lights work, but a more detailed inquiry will be conducted next week.

Yikes


The mayhem that is the cabin...


·     Removed paneling from v-berth.  Very difficult job as screws were all flat heads and entombed behind joint compound and layers of paint.  Had to use a hammer, screwdriver, paint scraper, crowbar, and drill to finish the job.  Cut cardboard templates for v-berth and head.

Old v-berth panels

Example of a flat head hidden behind layers of paint and joint compound


All panels removed

Templates cut for v-berth

Head template cut


·     The rust hunt began, and we sprayed rust eater on any spots we found to prepare for a rust inhibiting primer.

Rust found behind insulation in v-berth (never fear, 'tis all cosmetic)


·     Cleaned mast ropes

See those nice white ropes?  They used to be green!


·     Repaired and remounted navigation lights at top of mast, and re-rigged ropes
Re-rigged mast


·     Radar mast remounted with rubber pads under step plate
Ransom cutting rubber for radar mast


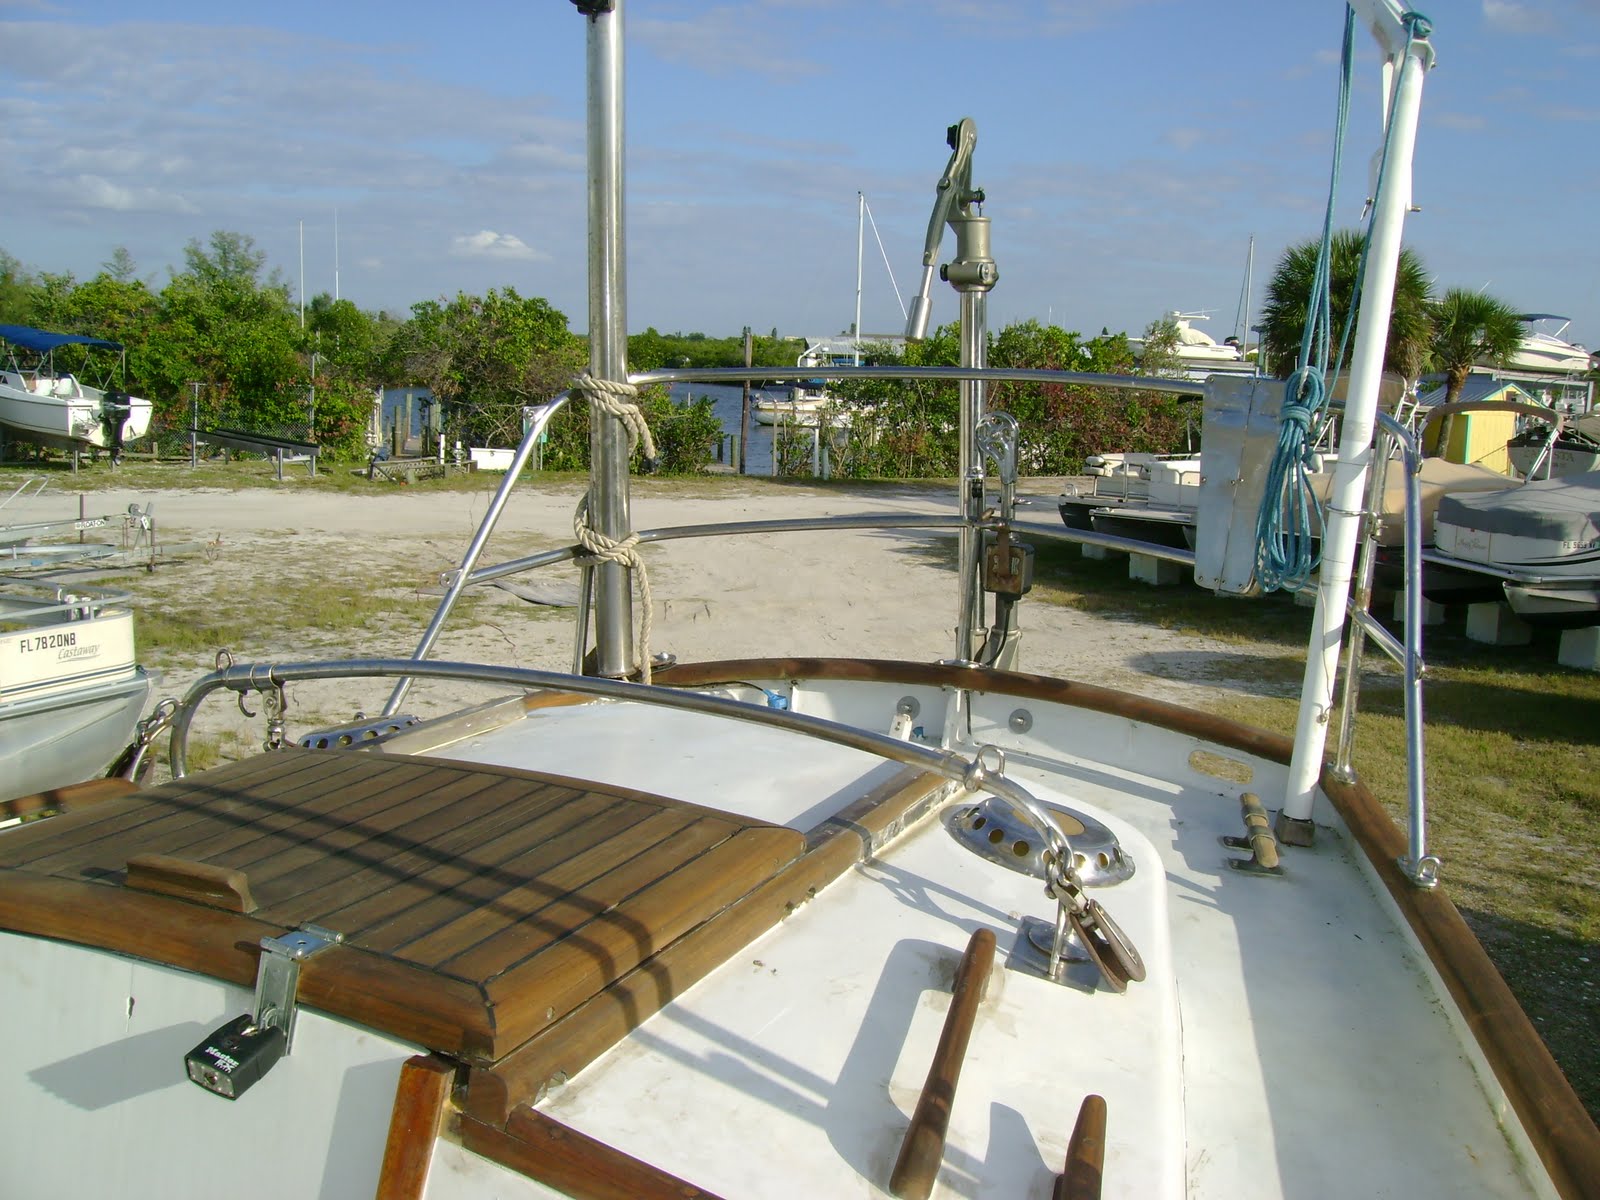
·     Mounted the wind vane steering system

New wind vane steering system (and a nice view of the rehabed teak)

Radar mast and wind vane steering system


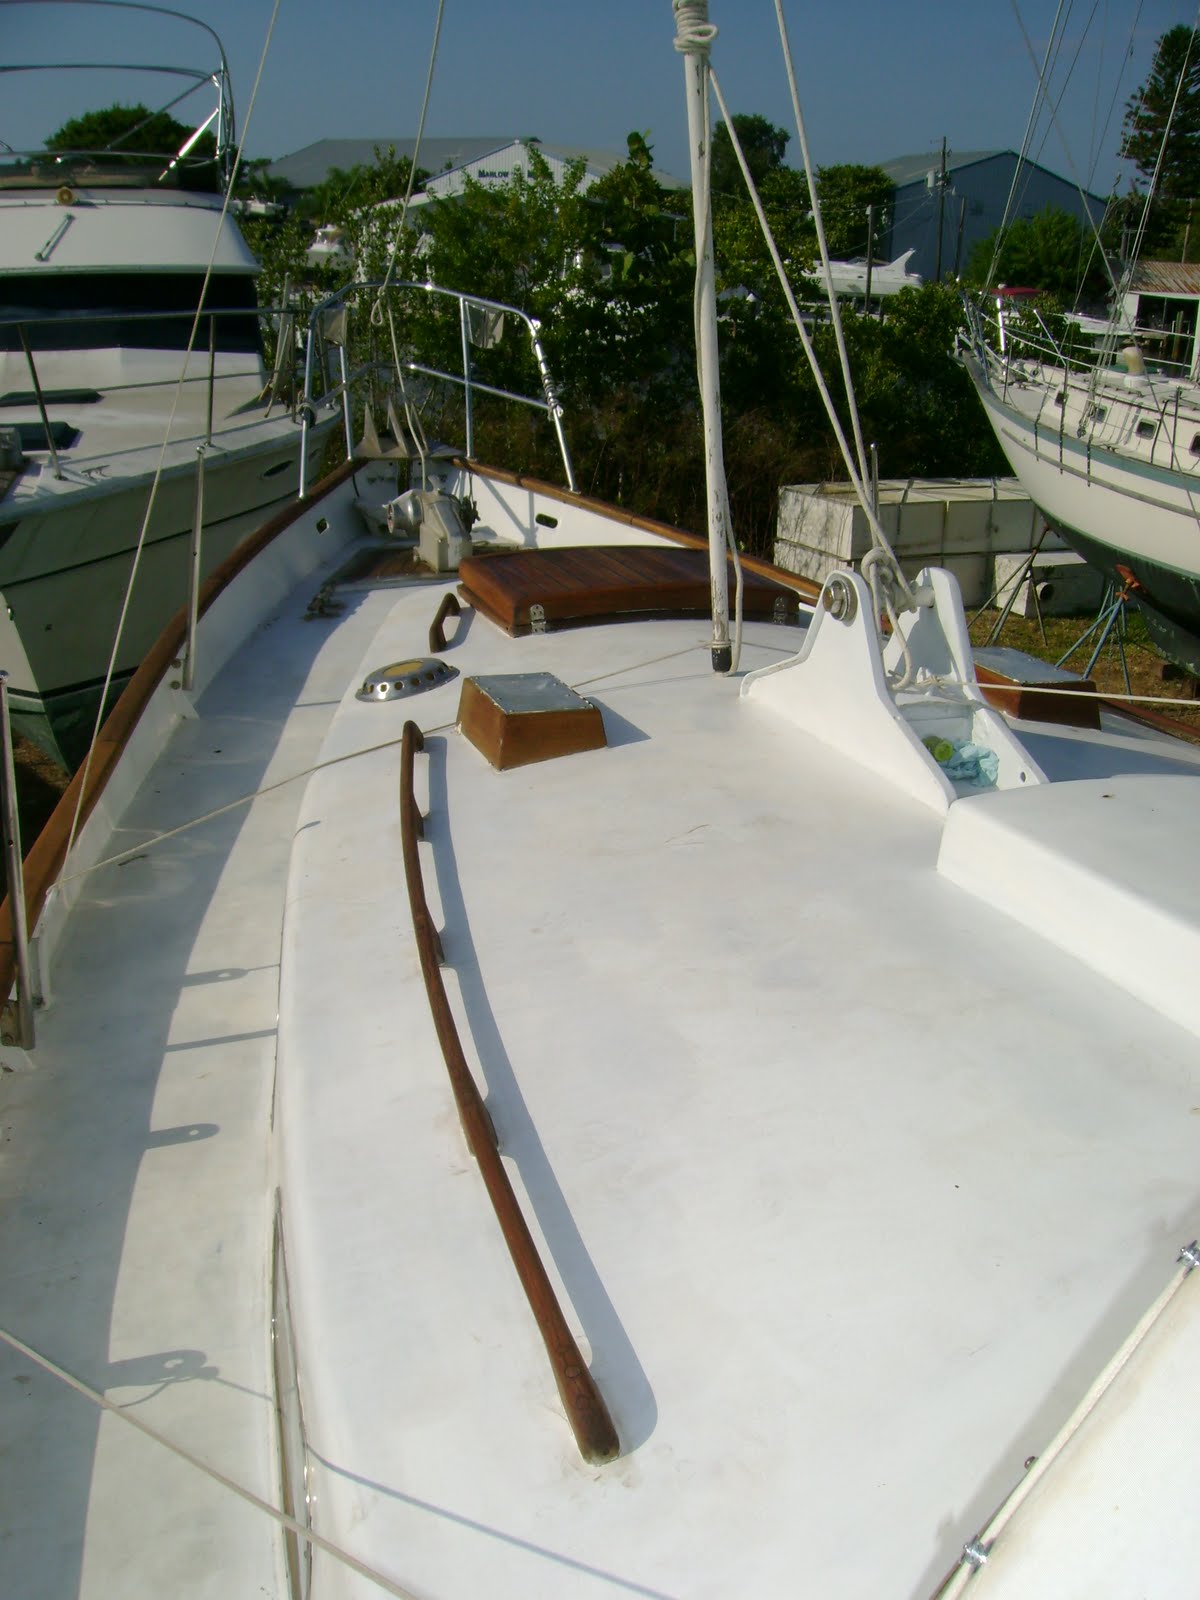
·     Rubber epoxied onto mast step to protect deck from mast.  Another layer of epoxy added around rubber to make water tight (not pictured).

Mast step
Mast step